Apps per namespace
If you want to install each application in your own namespace.
Create the project
Project structure
├── README.md
├── helmwave.yml.tpl
├── values
│   ├── harbor.yml
│   ├── minio.yml
│   ├── plantuml.yml
│   └── renovate.yml
└── vars.yaml
Step 1. Create helmwave.yml.tpl
version: 0.24.0


repositories:
  - name: bitnami
    url: https://charts.bitnami.com/bitnami
  - name: renovate
    url: https://docs.renovatebot.com/helm-charts
  - name: stevehipwell
    url: https://stevehipwell.github.io/helm-charts


# General options
.options: &options
  wait: true
  wait_for_jobs: true
  force: false
  timeout: 10m
  atomic: false
  max_history: 3
  create_namespace: true


releases:
{{- with readFile "vars.yaml" | fromYaml | get "releases" }}
{{ range $v := . }}

#################################
#                               #
#      {{ $v | get "name" }}
#                               #
#################################
- name: {{ $v | get "name" }}
  chart:
    name: {{ $v | get "repo" }}/{{ $v | get "name" }}
    version: {{ $v | get "version" }}
  namespace: {{ $v | get "name" }}
  tags: [{{ $v | get "name" }}]
  values:
    - values/{{ $v | get "name" }}.yml
  <<: *options

{{ end }}
{{- end }}
Step 2. Create vars.yaml
We will manage list apps with additional vars.yaml file
releases:
  - name: harbor
    repo: bitnami
    version: 11.0.5

  - name: minio
    repo: bitnami
    version: 9.0.2

  - name: plantuml
    repo: stevehipwell
    version: 3.3.0

  - name: renovate
    repo: renovate
    version: 25.76.1
Step 3. Render helmwave.yml.tpl -> helmwave.yml
helmwave yml
You will get it
version: 0.24.0

repositories:
  - name: bitnami
    url: https://charts.bitnami.com/bitnami
  - name: renovate
    url: https://docs.renovatebot.com/helm-charts
  - name: stevehipwell
    url: https://stevehipwell.github.io/helm-charts

# General options
.options: &options
  wait: true
  wait_for_jobs: true
  force: false
  timeout: 10m
  atomic: false
  max_history: 3
  create_namespace: true

releases:
  #################################
  #                               #
  #      harbor
  #                               #
  #################################
  - name: harbor
    chart:
      name: bitnami/harbor
      version: 11.0.5
    namespace: harbor
    tags: [harbor]
    values:
      - values/harbor.yml
    <<: *options

  #################################
  #                               #
  #      minio
  #                               #
  #################################
  - name: minio
    chart:
      name: bitnami/minio
      version: 9.0.2
    namespace: minio
    tags: [minio]
    values:
      - values/minio.yml
    <<: *options

  #################################
  #                               #
  #      plantuml
  #                               #
  #################################
  - name: plantuml
    chart:
      name: stevehipwell/plantuml
      version: 3.3.0
    namespace: plantuml
    tags: [plantuml]
    values:
      - values/plantuml.yml
    <<: *options

  #################################
  #                               #
  #      renovate
  #                               #
  #################################
  - name: renovate
    chart:
      name: renovate/renovate
      version: 25.76.1
    namespace: renovate
    tags: [renovate]
    values:
      - values/renovate.yml
    <<: *options
Step 4. Build plan
helmwave build
Step 5. Deploy plan
if we want to deploy only plantuml
helmwave build -t plantuml
helmwave up
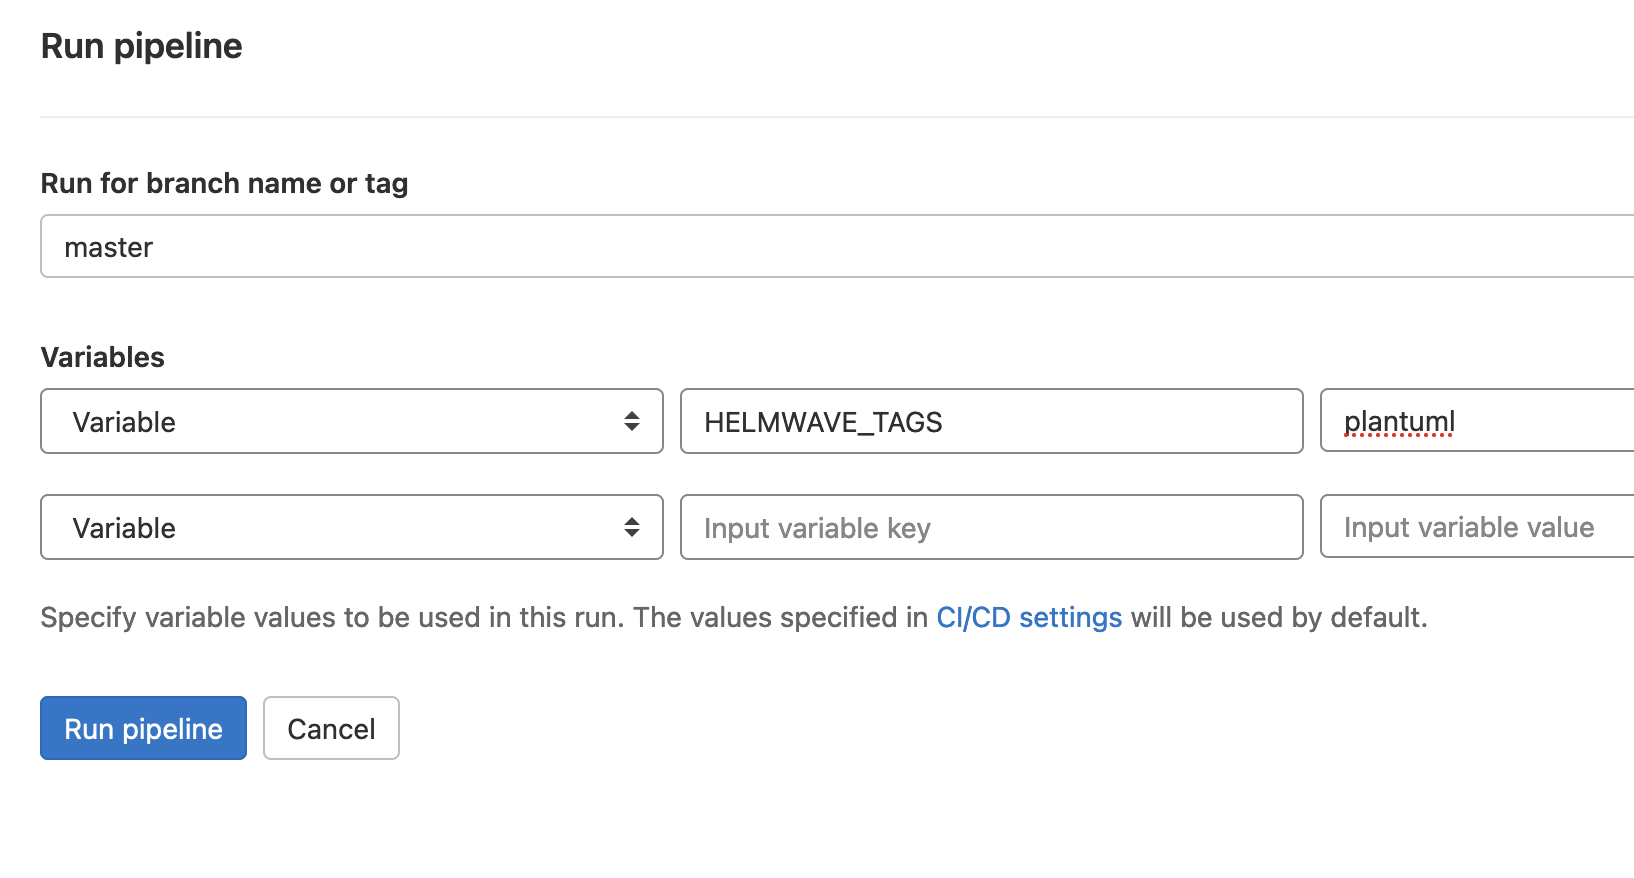
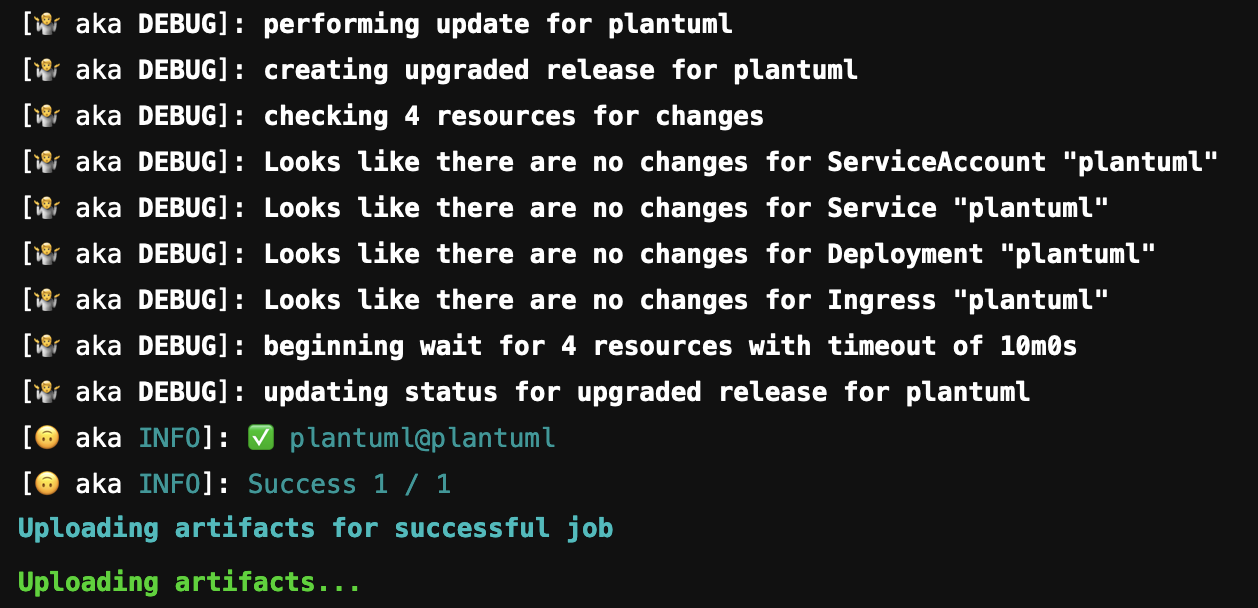
looks how to work HELMWAVE_TAGS
CI/CD with Gitlab-CI
variables:
  HELMWAVE_LOG_LEVEL: debug

deploy to prod:
  stage: deploy
  when: manual
  environment:
    name: prod
  image:
    name: ghcr.io/helmwave/helmwave:0.17.2
    entrypoint: [""]
  before_script:
  - printenv | grep HELMWAVE
  script:
  - helmwave yml
  - helmwave build
  - helmwave up
  artifacts:
    paths:
    - .helmwave
    expire_in: 2 week
if you want to deploy only plantuml via CI.

