Apps per namespace
If you want to install each application in your own namespace.
This example is using vars.yaml for registration your group of releases.
Create the project
Project structure
docs/examples/apps-per-ns
├── README.md
├── helmwave.yml
├── helmwave.yml.tpl
├── values
│   ├── harbor.yml
│   ├── minio.yml
│   ├── plantuml.yml
│   └── renovate.yml
└── vars.yaml

1 directory, 8 files
Step 1. Create helmwave.yml.tpl
helmwave.yml.tpl
project: "Example: apps per own namespace"
version: "0.32.3"

repositories:
  - name: bitnami
    url: https://charts.bitnami.com/bitnami
  - name: renovate
    url: https://docs.renovatebot.com/helm-charts
  - name: stevehipwell
    url: https://stevehipwell.github.io/helm-charts


# General options
.options: &options
  wait: true
  wait_for_jobs: true
  force: false
  timeout: 10m
  atomic: false
  max_history: 3
  create_namespace: true


releases:
{{- with readFile "vars.yaml" | fromYaml | get "releases" }}
{{ range $v := . }}

#################################
#                               #
#      {{ $v | get "name" }}
#                               #
#################################
- name: {{ $v | get "name" }}
  chart:
    name: {{ $v | get "repo" }}/{{ $v | get "name" }}
    version: {{ $v | get "version" }}
  namespace: {{ $v | get "name" }}
  tags: [{{ $v | get "name" }}]
  values:
    - values/{{ $v | get "name" }}.yml
  <<: *options

{{ end }}
{{- end }}
Step 2. Create vars.yaml
We will manage list apps with additional vars.yaml file
vars.yaml
releases:
  - name: harbor
    repo: bitnami
    version: 11.0.5

  - name: minio
    repo: bitnami
    version: 9.0.2

  - name: plantuml
    repo: stevehipwell
    version: 3.3.0

  - name: renovate
    repo: renovate
    version: 25.76.1
Step 3. Render helmwave.yml.tpl -> helmwave.yml
helmwave yml
You will get it
helmwave.yml
project: "Example: apps per own namespace"
version: "0.32.3"

repositories:
  - name: bitnami
    url: https://charts.bitnami.com/bitnami
  - name: renovate
    url: https://docs.renovatebot.com/helm-charts
  - name: stevehipwell
    url: https://stevehipwell.github.io/helm-charts


# General options
.options: &options
  wait: true
  wait_for_jobs: true
  force: false
  timeout: 10m
  atomic: false
  max_history: 3
  create_namespace: true


releases:


#################################
#                               #
#      harbor
#                               #
#################################
- name: harbor
  chart:
    name: bitnami/harbor
    version: 11.0.5
  namespace: harbor
  tags: [harbor]
  values:
    - values/harbor.yml
  <<: *options


#################################
#                               #
#      minio
#                               #
#################################
- name: minio
  chart:
    name: bitnami/minio
    version: 9.0.2
  namespace: minio
  tags: [minio]
  values:
    - values/minio.yml
  <<: *options


#################################
#                               #
#      plantuml
#                               #
#################################
- name: plantuml
  chart:
    name: stevehipwell/plantuml
    version: 3.3.0
  namespace: plantuml
  tags: [plantuml]
  values:
    - values/plantuml.yml
  <<: *options


#################################
#                               #
#      renovate
#                               #
#################################
- name: renovate
  chart:
    name: renovate/renovate
    version: 25.76.1
  namespace: renovate
  tags: [renovate]
  values:
    - values/renovate.yml
  <<: *options
Step 4. Build plan
helmwave build
Step 5. Deploy plan
if we want to deploy only plantuml
helmwave build -t plantuml
helmwave up
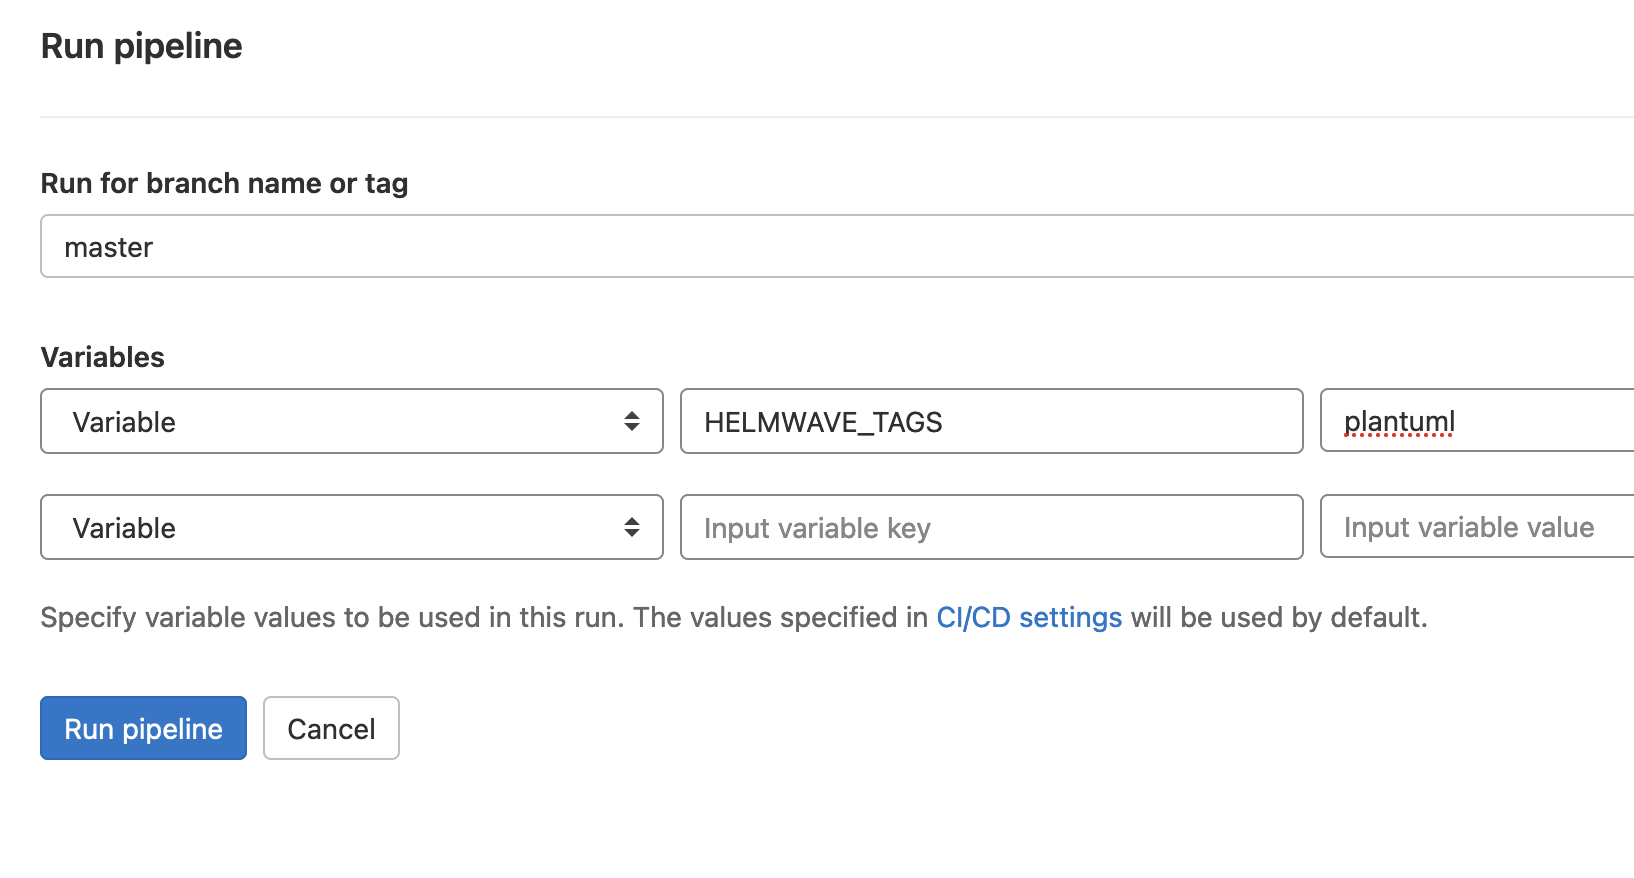
Check out how to use HELMWAVE_TAGS
CI/CD with Gitlab-CI
.gitlab-ci.yml
variables:
  HELMWAVE_LOG_LEVEL: debug

deploy to prod:
  stage: deploy
  when: manual
  environment:
    name: prod
  image:
    name: ghcr.io/helmwave/helmwave:0.32.3
    entrypoint: [""]
  before_script:
  - printenv | grep HELMWAVE
  script:
  - helmwave yml
  - helmwave build
  - helmwave up
  artifacts:
    paths:
    - .helmwave
    expire_in: 2 week
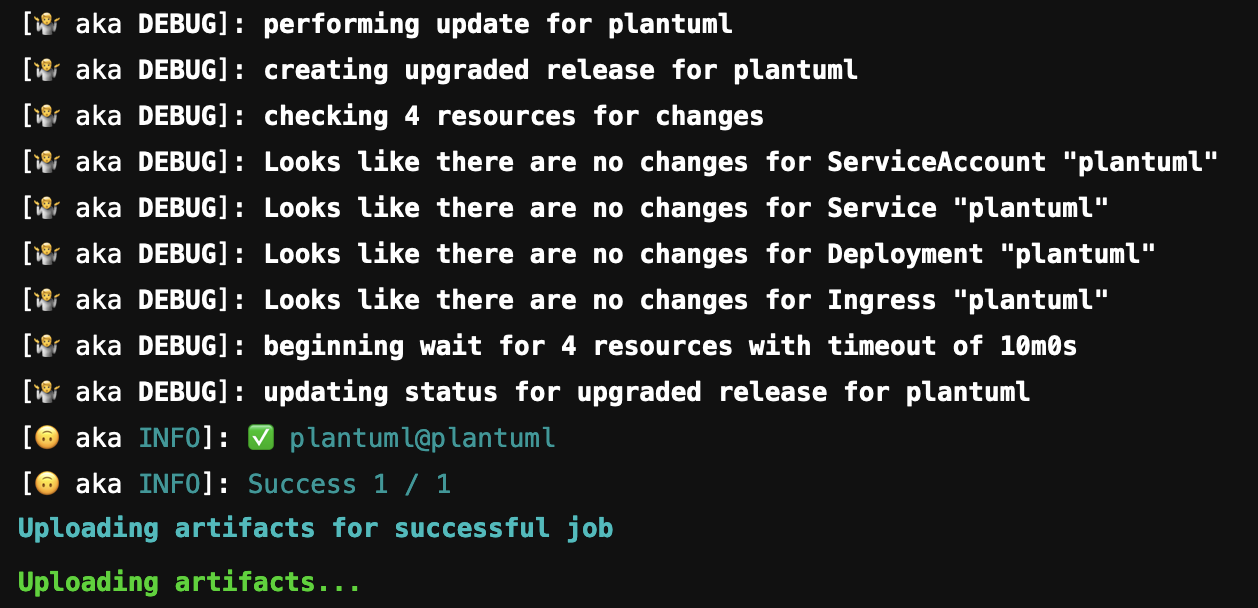
if you want to deploy only plantuml via CI.

